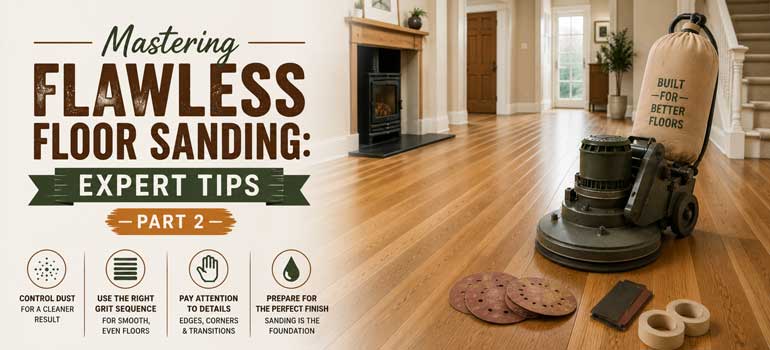
Even with the right equipment, floor sanding still comes down to technique. A rushed or careless approach with the right machines can produce worse results than a careful one with slightly older equipment, which is exactly why professionals still recommend this stays a professional job for anyone without genuine confidence in the process.
Using The Edger Properly
The edger handles the perimeter work the drum sander can't reach, and it's easy to underestimate how much technique affects its results:
- Follow every drum sander pass with a matching edger pass, using the same grit on both machines to keep the transition between them consistent.
- Place a nylon pad under the edger's sandpaper, which meaningfully reduces the gouges and swirl marks the edger can otherwise leave behind.
- Replace dull sandpaper promptly, since worn paper isn't aggressive enough to remove the swirl marks left by the previous pass, and this becomes far more obvious once finish is applied than it is during sanding itself.
- Check your work with a flashlight once edging is complete, angling the light across the surface reveals swirl marks that aren't visible under normal room lighting, letting you hand-sand them out before moving on.
Getting Into The Corners
Machines can't reach everywhere, and the final detailing matters more than people expect:
- Use a carbide paint scraper for any spots the drum sander and edger genuinely can't reach.
- Work carefully rather than quickly, since the sharpness that makes carbide scrapers effective also makes them capable of gouging the wood if handled roughly.
Never Skip A Grit
This is one of the most important rules in the whole process, and it's tempting to shortcut when a floor already looks reasonably smooth:
- Coarse grit removes the old finish and evens out the surface, but that's only the first stage, not the finished result.
- Each subsequent grit removes the marks left by the previous one, working progressively toward a genuinely smooth surface rather than jumping straight to a fine finish.
- Fine grits also open the wood's pores, which matters directly for how well the finish, whether wood floor staining or a protective coat, actually absorbs and bonds once it's applied.
Clean Thoroughly Between Every Grit
This step gets skipped more than any other, and it genuinely shouldn't be:
- Vacuum thoroughly after each grit, since leftover sawdust can scratch the newly exposed, still-vulnerable bare wood.
- Uncleaned dust also wears the next grit down faster than it should, reducing how effectively it cuts before you've even started.
- Wrap the vacuum nozzle with tape to avoid accidentally marring the bare floor while cleaning it.
Screening: The Step People Skip
Screening is easy to treat as unnecessary extra work once the floor already looks sanded, but it does something the drum sander and edger genuinely can't:
- It blends the transition between the drum-sanded centre of the room and the edger-sanded perimeter into one seamless surface.
- It polishes away fine micro-scratches left by both machines, which would otherwise show up under the sheen of a finished coat.
- It can be done with a buffing machine or a sanding pole, both genuinely effective, provided a very fine abrasive is used either way.
Technique For Swinging The Buffer
Buffer technique matters as much as the equipment itself:
- Start from one wall and work steadily back across the room, rather than moving randomly.
- Swing the machine slowly from side to side as you go, lifting the handle slightly to control the motion.
- Keep the movement even and consistent, since uneven pressure at this stage can undo some of the smoothness the previous steps achieved.
Once floor sanding is genuinely complete and screened, the floor is ready for its finish, and getting all of the above right is exactly what determines whether that finish goes on to look flawless or highlights every shortcut taken along the way.
Floor Sanding Technique: Common Questions
Why does the edger need a nylon pad under the sandpaper?
It significantly reduces the gouges and swirl marks the edger can otherwise leave, particularly in corners and along walls where it's doing detailed, close-up work.
Is it really necessary to clean up between every single grit change?
Yes, genuinely. Leftover dust can scratch the exposed bare wood and wear down the next grit faster than it should, both of which affect the final result more than people expect.
What does screening actually achieve that sanding alone doesn't?
It blends the transition between the drum-sanded centre and the edger-sanded perimeter into one seamless surface, and it polishes away the fine micro-scratches both machines leave behind.
Why does grit progression matter so much for the finish, not just the smoothness?
Fine grits open the wood's pores, which directly affects how well stain or a protective finish absorbs and bonds to the surface once applied.
Call us on 020 7036 0625 or request a free site visit if this level of technique has you leaning toward professional sanding instead.